Putting a roof on Steve's Cabin
Navigation:Part 1 - The beginning - 2008, getting ready for the roof <= You are here
Part 2 - 2008-9, building the roof, start inside floor
Part 3 - 2009-10, building the loft and fireplace
Part 4 - 2001-12, building the doors, trim and finishing work
Part 5 - 20012-14, chinking, interior finishing and detail work, start porch
Part 6 - 2014, porch roof, deck, and bath framing
Part 7 - 2015-17, bathroom addition, details
Background
This page started out as a link for just a few people to show the progress on working on the roof of Steve's log cabin, but now I've added some more info and background. Steve wanted to put up something more permanent than a camping trailer on his mountainside property outside of Blacksburg. He settled on an early 1800's log cabin that he found from an outfit that moves and sells them.
Here's a link to the web page where he bought it from:
http://www.vintagelog.com/iowa-log-house.htm
This cabin was originally in Iowa, on the banks of the Mississippi. There is even a story that Samuel Clements, in his riverboat days, had once stayed there.
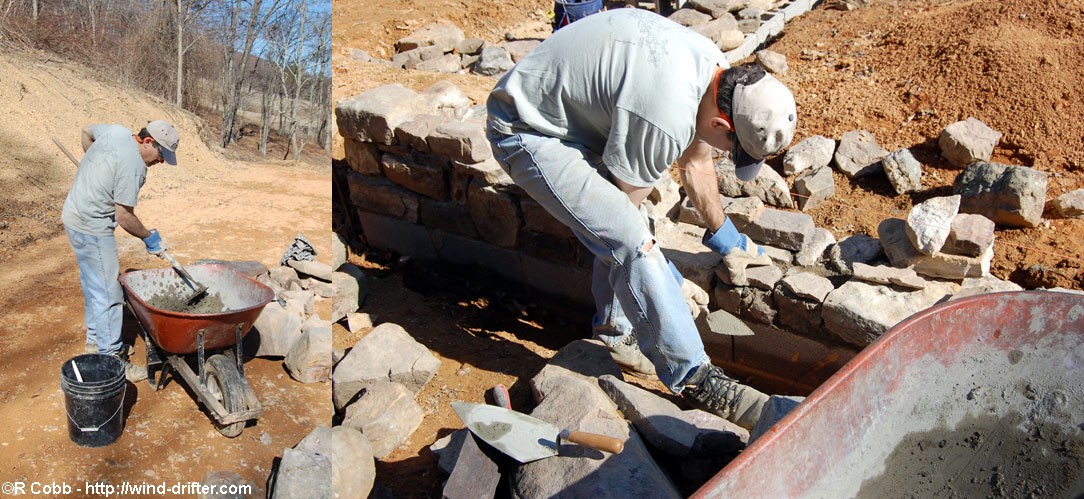
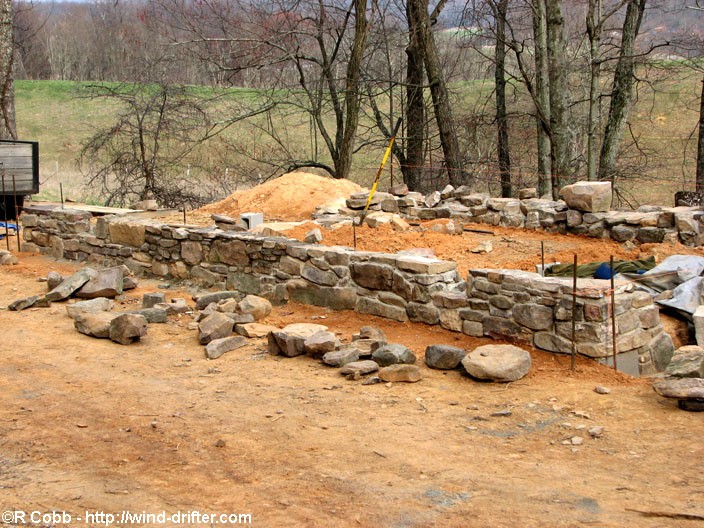
In the Spring of this year (2008) Steve built the foundation for the cabin, using rocks from his land:

By July he had it ready for the log cabin company to bring in the cabin and set it up on his foundation. The logs were stacked using a crane:
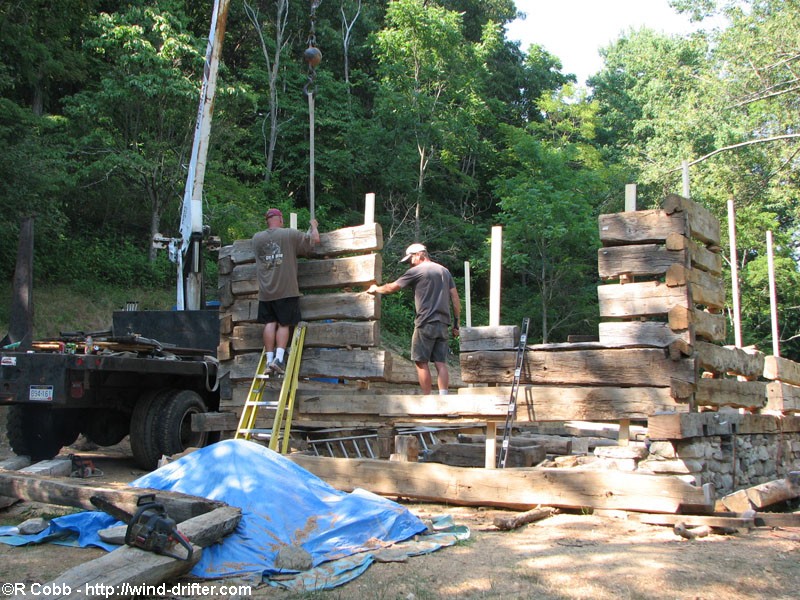
And this was taken about a day after they were done stacking it.

One interesting thing was the difference in how the corners were made. Steve's theory (and the guys that he brought it from as well), is that the cabin was built by an older guy and a younger one working together. It dates from the 1830's or 1840's, when there evolved a change in how corners were made. The older style was a triangular top to each log, with a corresponding notch in the bottom of the mating log above it (kind of like the roof on a house). The 'newer' style was the half dove-tail, which has a flat, but slanted top. You can clearly see both styles in the corners. So probably the older guy was cutting the early style joints, and the younger guy was cutting the newer version.
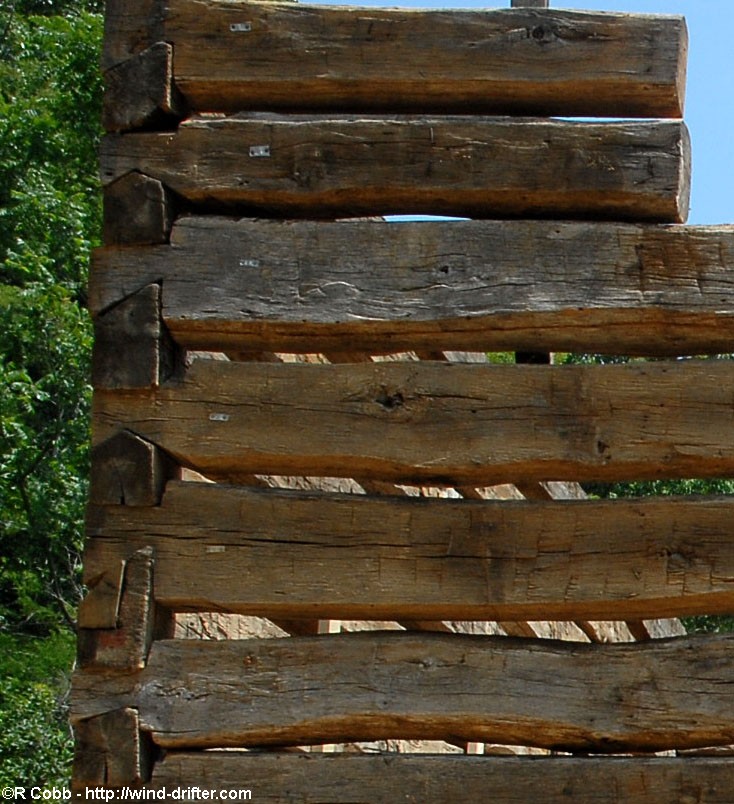 You can also see the little numbered metal tags, which where how the logs were labeled for reassembly in the same location they came from.
The Roof - Day 1
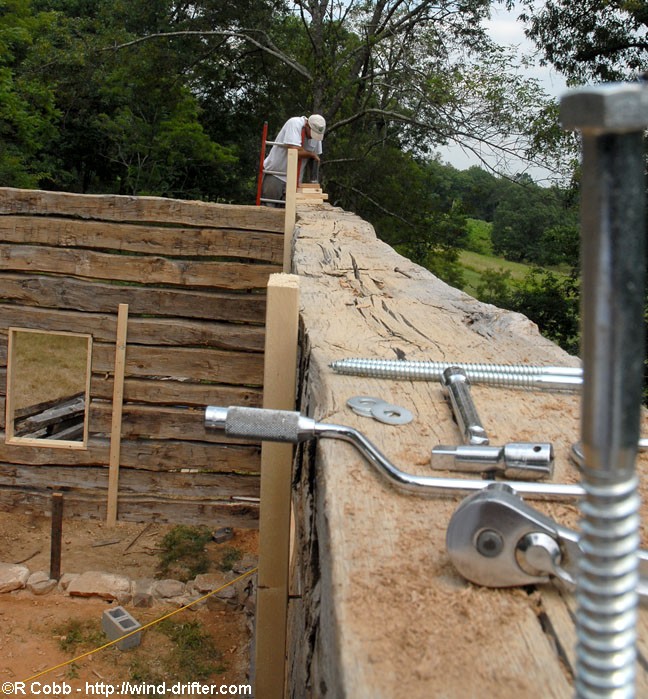
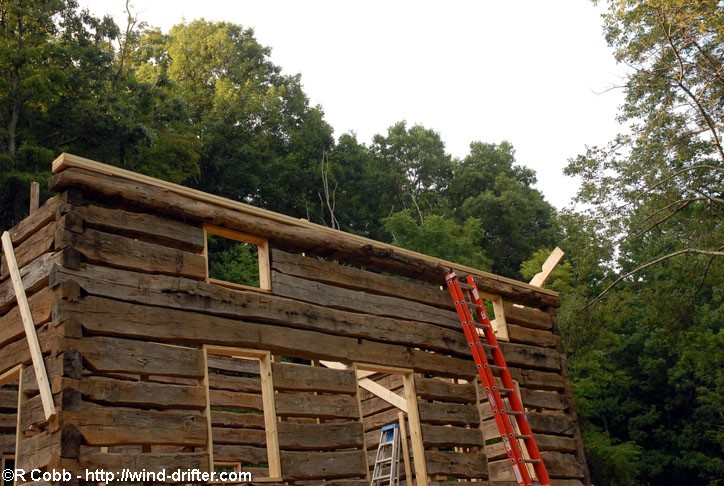
July 19 - Today was mostly just figuring out what we needed in the way of tools and materials, and how we were going to frame the rafters. We also lag-bolted the top logs (on which the rafters will be supported) to the lower logs. The major accomplishment of the day was getting 2x 'plates' on top of the logs, to level and smooth the surface for the rafters. They still need some shimming and adjustment, but at least now we know how out-of-level and out-of-square everything is (quite a bit, by modern standards, but pretty darn good for hand hewn logs!)
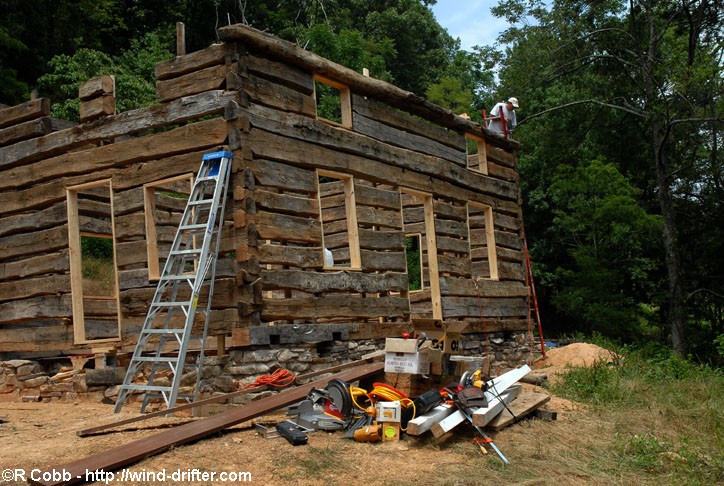
Here's a few pictures of the day's efforts.
Day 2
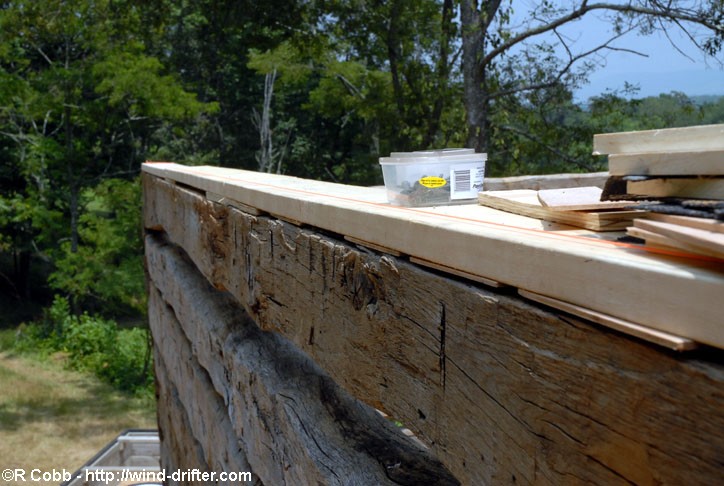
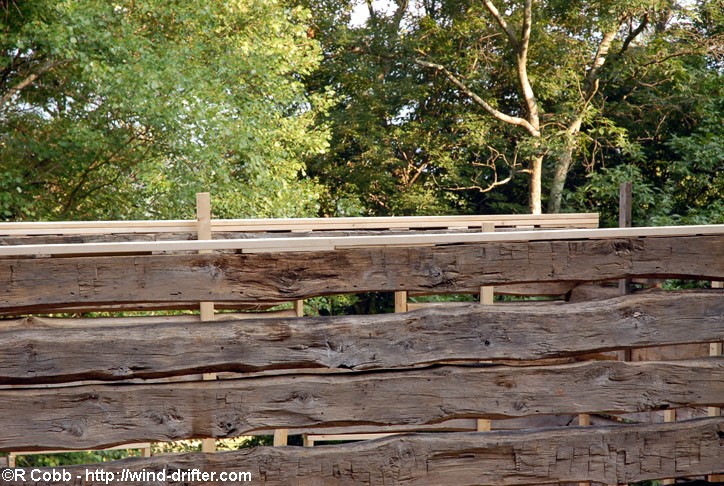
July 20 - Today was the second 90 degree day in a row. It was nice to have Steve's spring to refill the water jug with cool fresh water. This was another agonizingly slow day, but at least we're through a hard part now. The main job today was getting the plates we'd put on the top logs level and straight. Well, straight. Level across the length of the cabin would have meant tapering the top plates, and we figured it would look better to be simply straight. Shimming is a tedious process, and we used everything from planed pieces of wood to plywood to roofing shingles for shims.
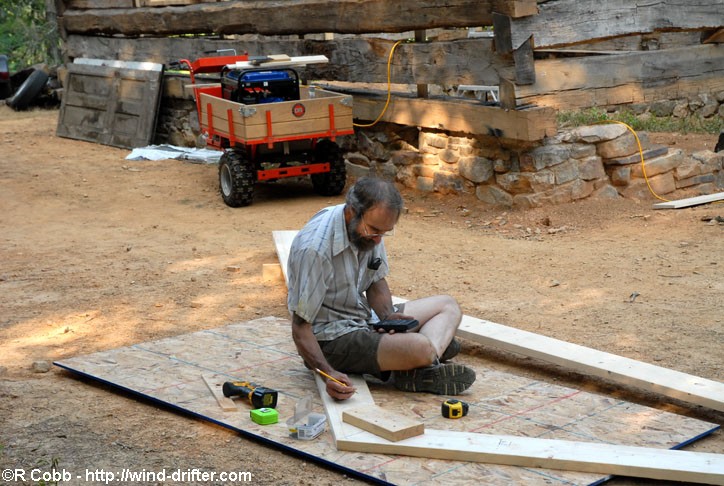
This is Steve using an 1837 tool he bought on Ebay to knock off a high spot.

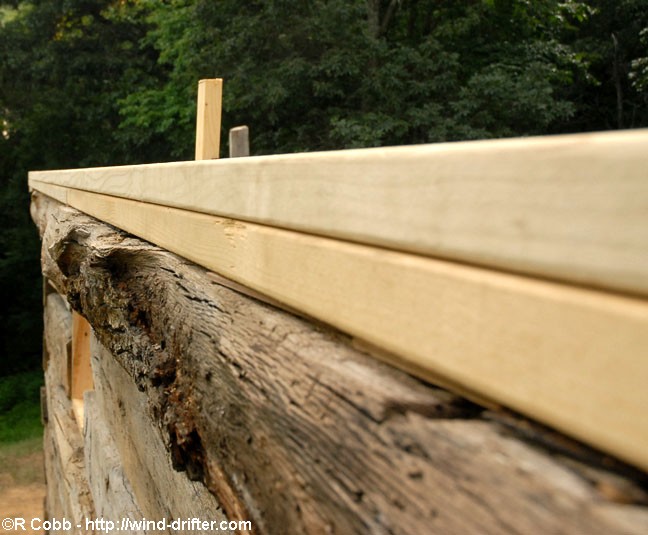
We had to put a double plate on one side to try to even the heights of the two sides. Still not there, but close enough. "Hey, it's a log cabin" is a phrase that was heard repeatedly throughout the day.
We walked up on the hill to sight parallel between the sides. Not perfect.
But at least each side is straight and flat, so the slight twist in the roof should not even be visible once it is done.
It was late in the day, but we finally reached the point we had hoped for much earlier - the trusses. Getting the first one right took some head scratching:
But we got a trial one put together. Once we get it adjusted and trimmed correctly, it will become the master truss pattern from which all the others are made.
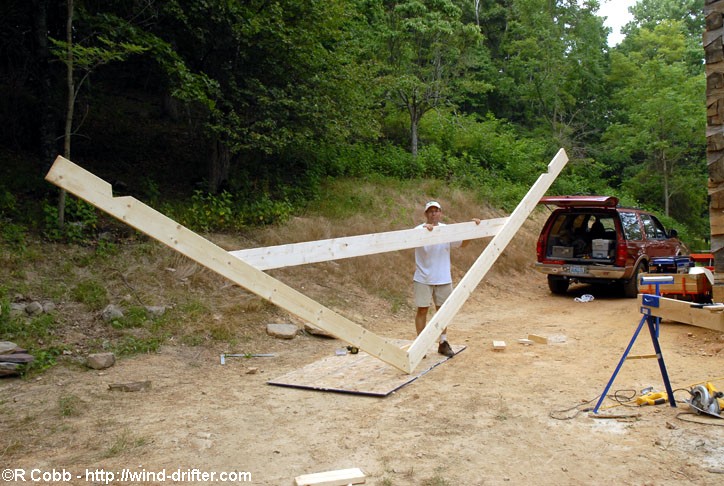
It was already past our planned quitting time, but we really wanted to see it up.
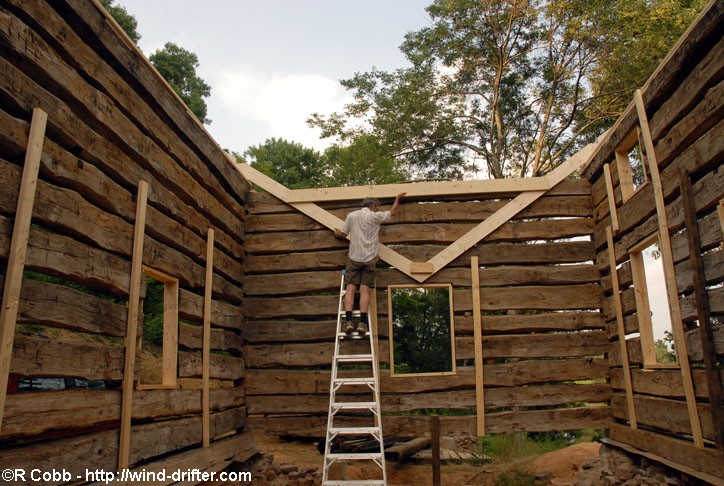
Finally, reality sunk in, and we decided to call it quits for the day. I think Steve was happy with the progress we had made, though.
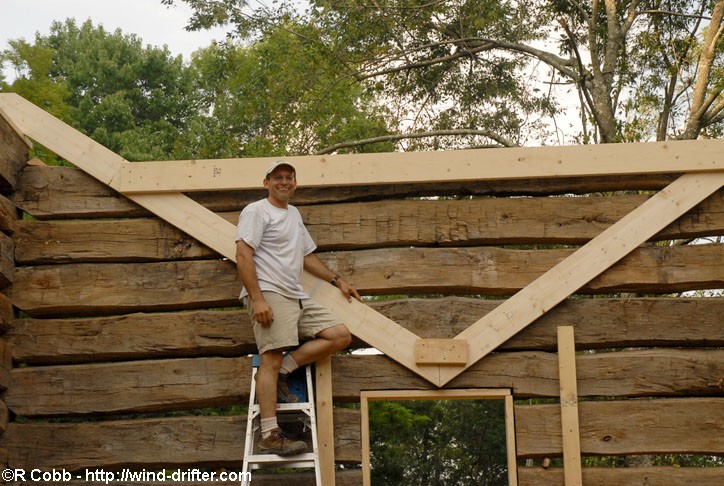
It will probably be several weeks before we can get back out there again. The truss hangs there waiting for us. We've got several ideas for getting it flipped over and braced, but the first few will certainly be interesting!
Navigation:
Part 1 - The beginning - 2008, getting ready for the roof <= You are here
Part 2 - 2008-9, building the roof, start inside floor
Part 3 - 2009-10, building the loft and fireplace
Part 4 - 2001-12, building the doors, trim and finishing work
Part 5 - 20012-14, chinking, interior finishing and detail work, start porch
Part 6 - 2014, porch roof, deck, and bath framing
Part 7 - 2015-17, bathroom addition, details