Steve's Cabin - part 4
Navigation:Part 1 - The beginning - 2008, getting ready for the roof
Part 2 - 2008-9, building the roof, start inside floor
Part 3 - 2009-10, building the loft and fireplace
Part 4 - 2001-12, building the doors, trim and finishing work <= You are here
Part 5 - 20012-14, chinking, interior finishing and detail work, start porch
Part 6 - 2014, porch roof, deck, and bath framing
Part 7 - 2015-17, bathroom addition, details
June 2011
Steve's next workweek was scheduled for June. Planned activities were building/installing doors and substantially advancing the chinking. Building the doors was to be my part of the project, and had to be completed prior to the workweek. Steve delivered a load of rough cut 2 inch thick white oak, and it took nearly two weeks to turn that lumber into two finished doors and frames. Here was the first time the first door was closed into it's frame, to test for fit:
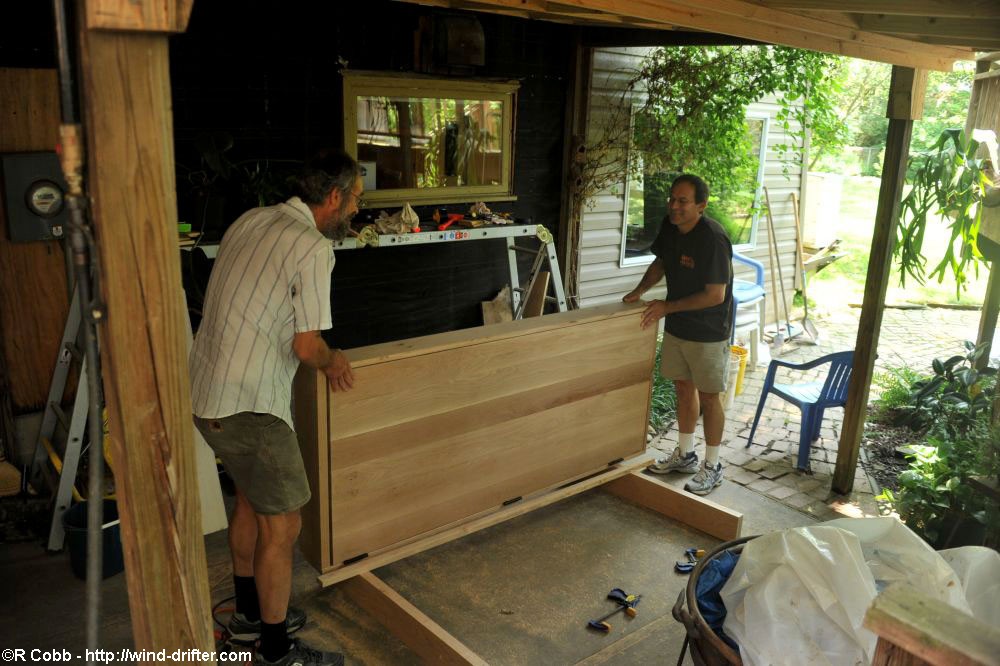
See Building the doors for more detail on the 2 week project to make the doors.
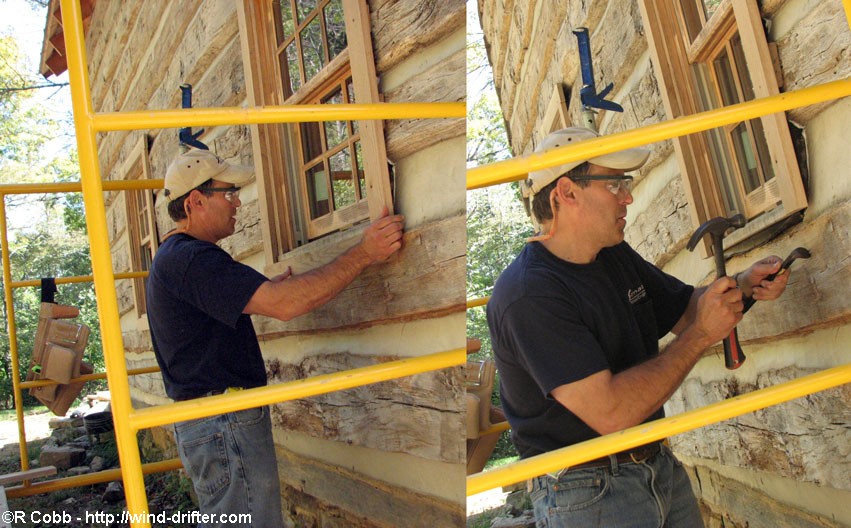
The finished doors in their frames were quite heavy - the doors without the frames weighed around 120 lbs each. Steve had provided the (square) door opening measurements, which is what I built the doors to. As it came time to put the first one in place, I told Steve that for two weeks I had been nervous every time I made a cut, afraid that I would mess something up. Now I grinned at Steve and told him it was his turn to be nervous - we were using his measurements, and about to find out if they were right...
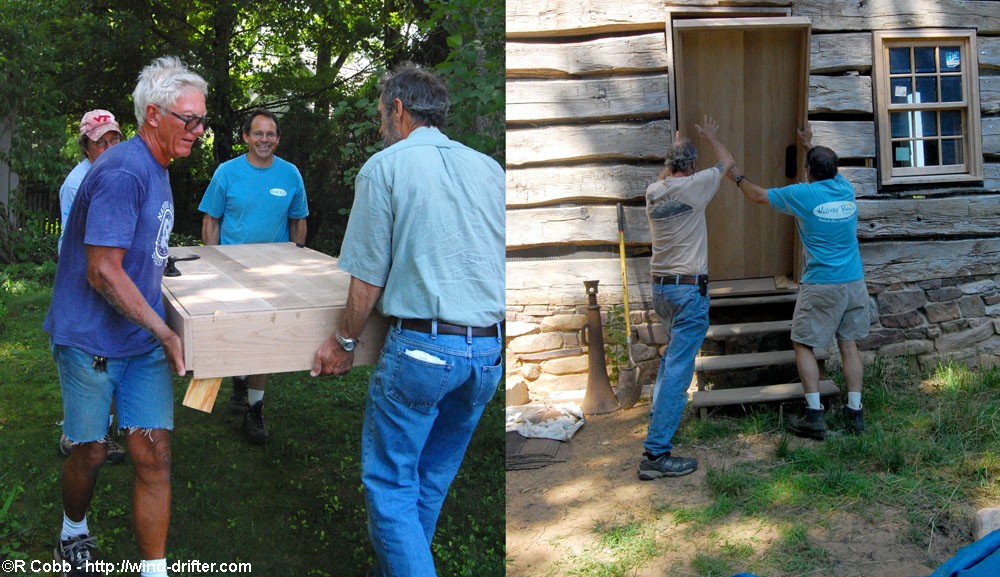
It turned out he did good!
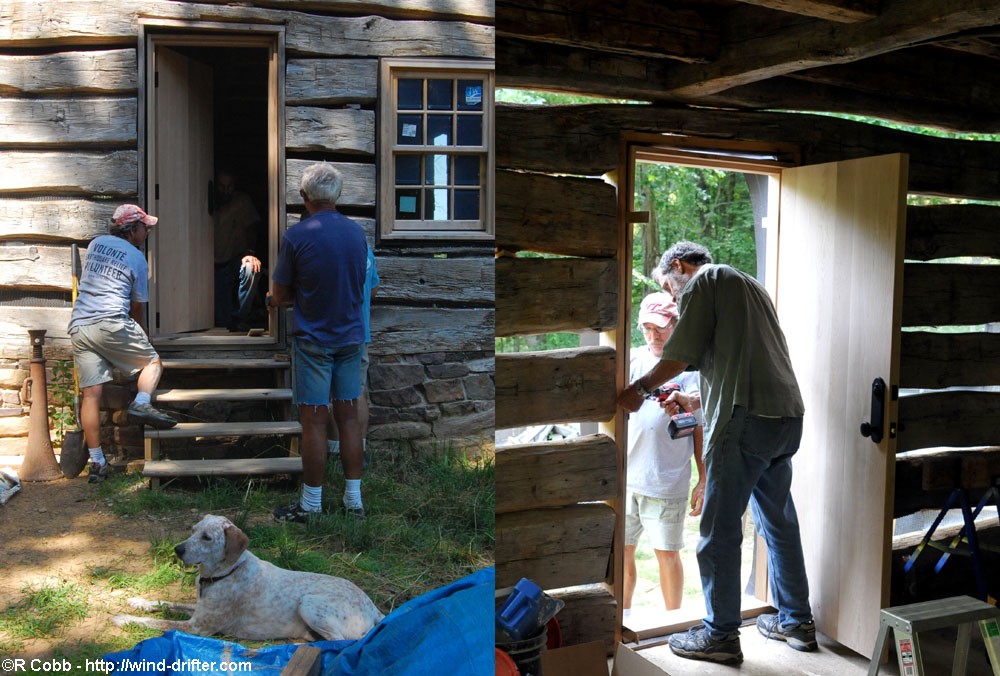
Both doors fit their openings.
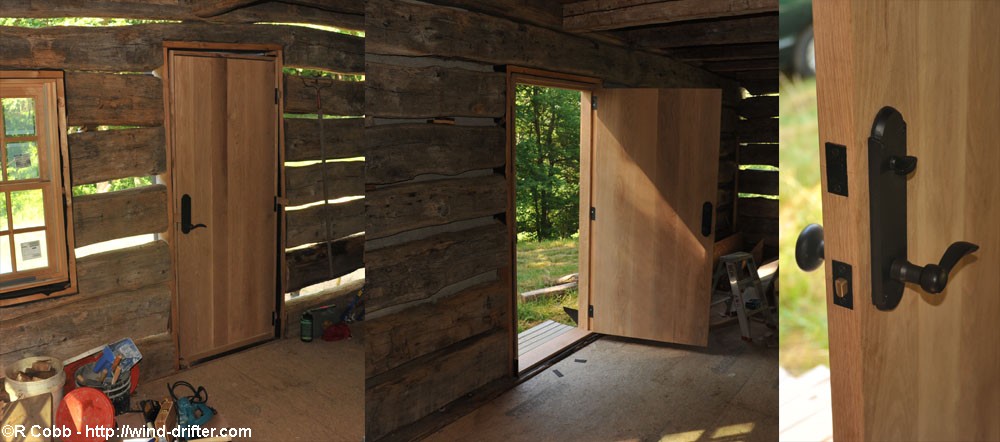
It's starting to look like a place to live inside...

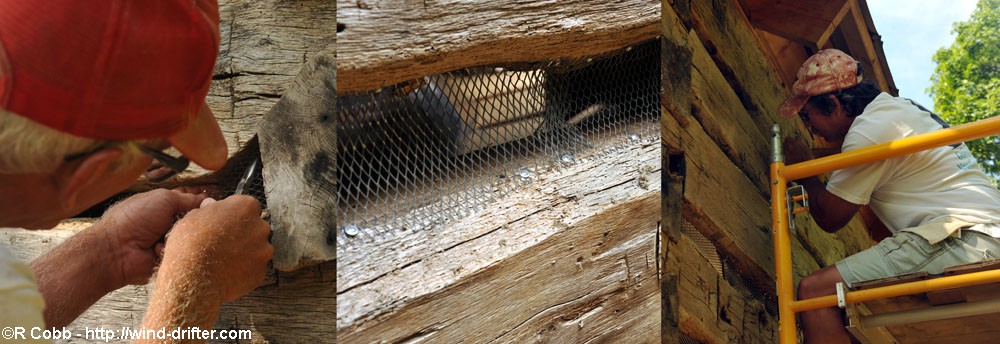
The rest of the work week was devoted to the chinking. Doug and Ed installed the wire mesh between the logs which would provide a base for the mortar:
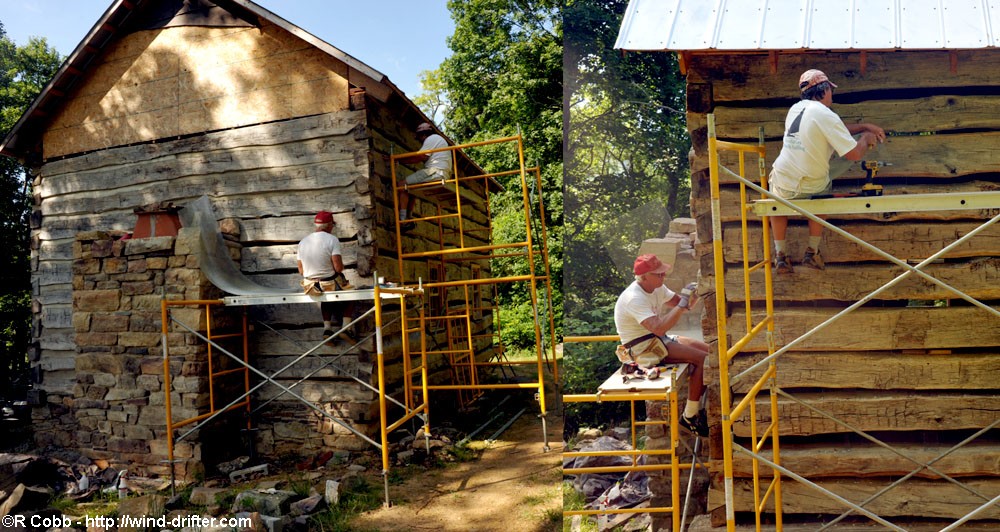
This was a tedious and time consuming job:
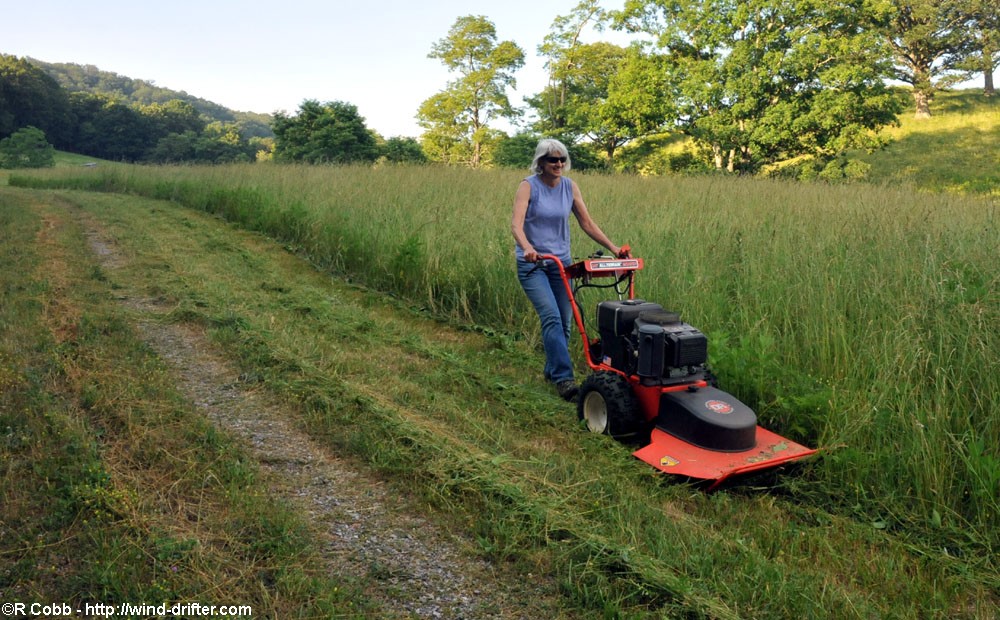
Meanwhile Jean took a turn on the mower:
And Steve was kept busy mixing mortar and applying it to the mesh:

Steve was also the Camp Cook at the end of the days:

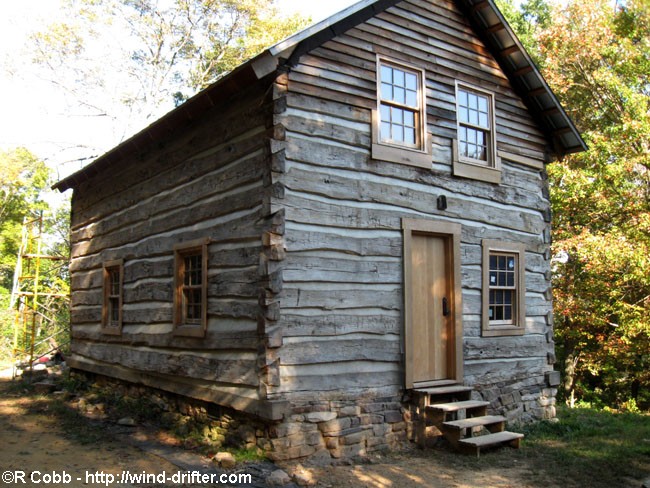
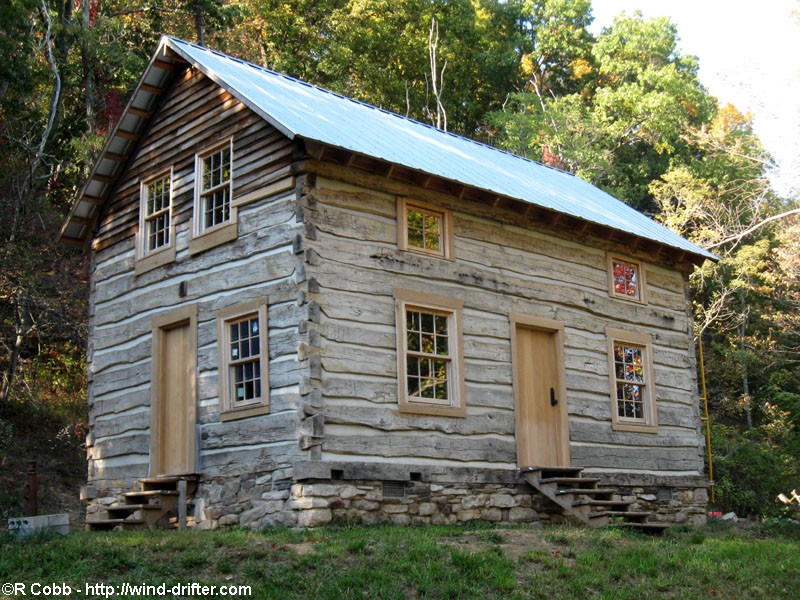
All the mesh was installed during the work week, and then Steve worked when he could to finish the mortar. In mid-July he had completed the chinking on the outside. The cabin now has doors, windows, and the walls are weather tight:


October 2011
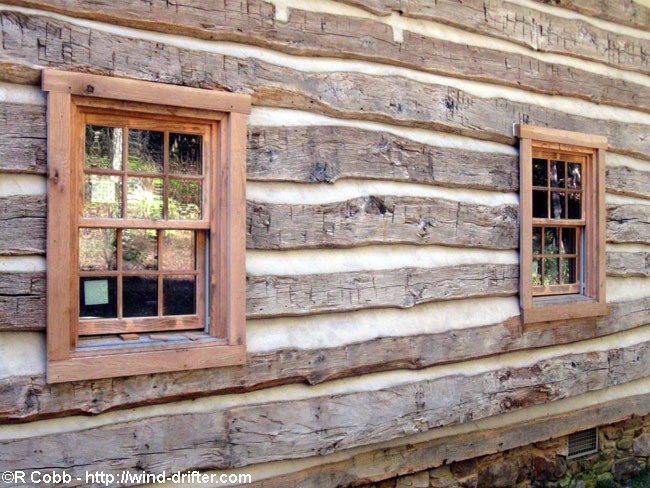
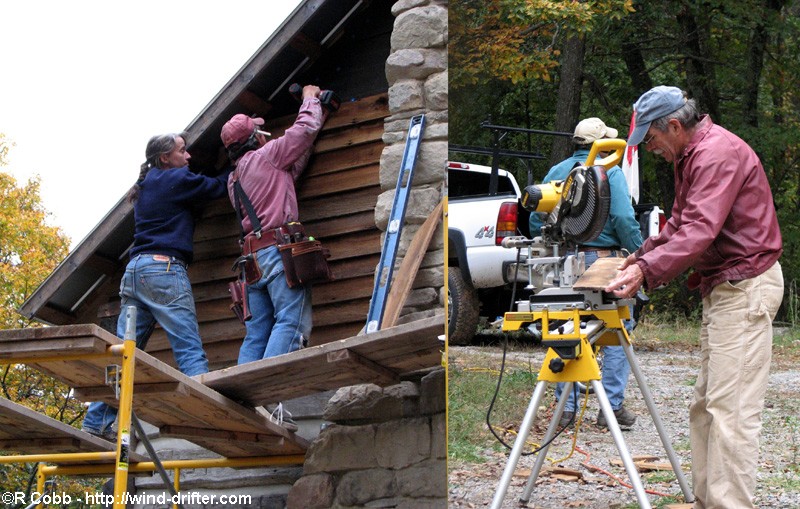
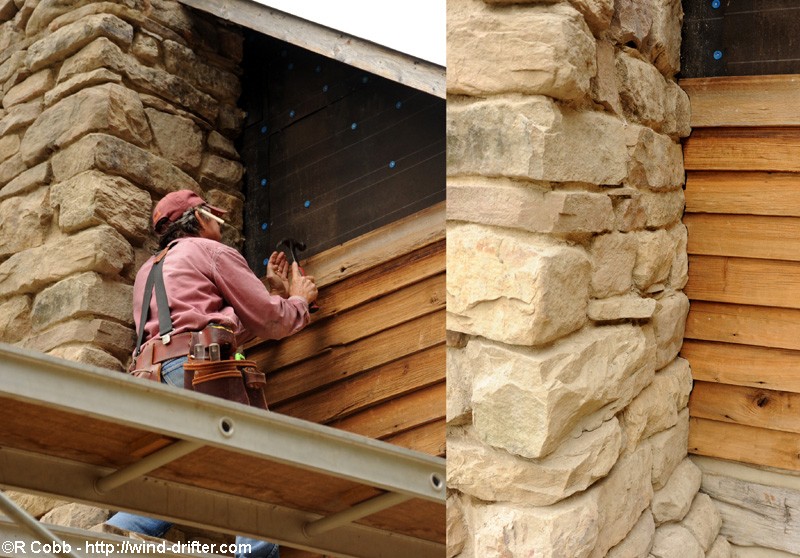
Ed and Steve spent a week at the beginning of October doing the trim around the doors and windows
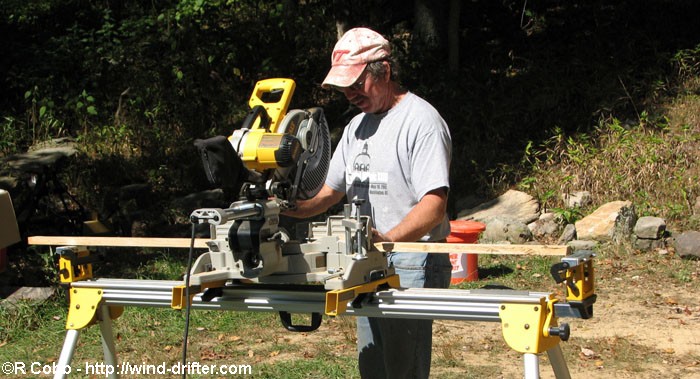
Of course, with a cabin, there are no flat surfaces when fitting trim, so some parts of the logs had to be cut to the trim would fit flat on the window and door frames
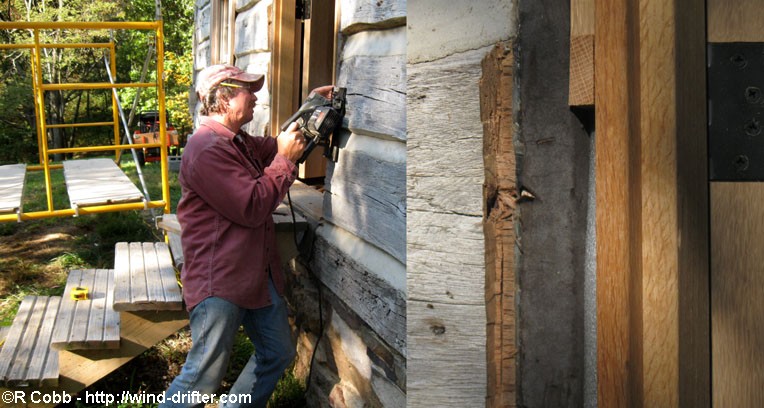
And in others the space between the logs and trim had to be filled in
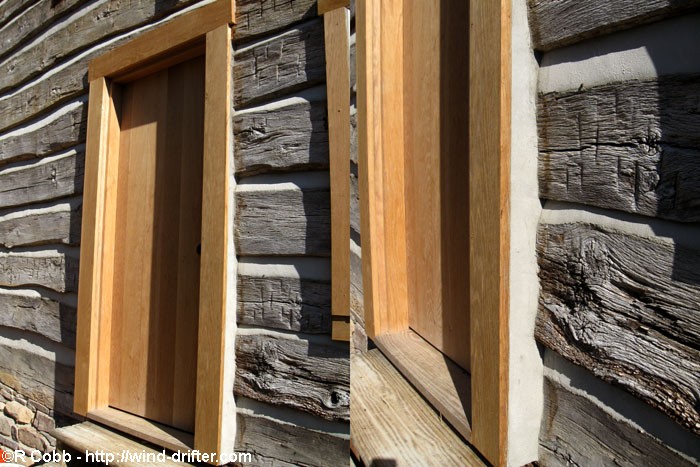
By the end of the work week all the exterior trim was finished, and looking good:
Must be time to get back to that chimney...

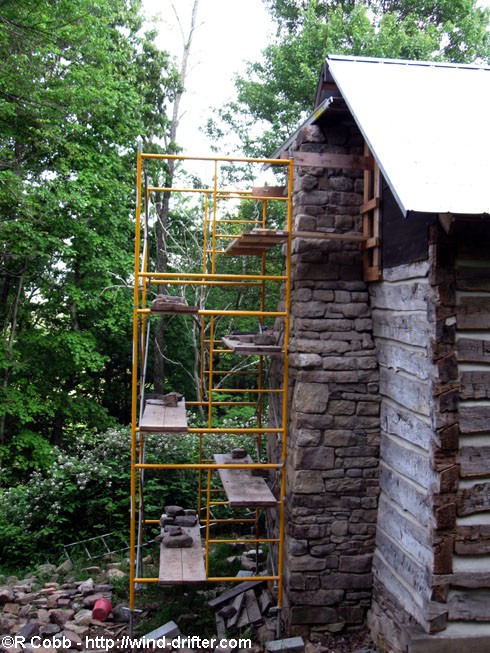
April 2012
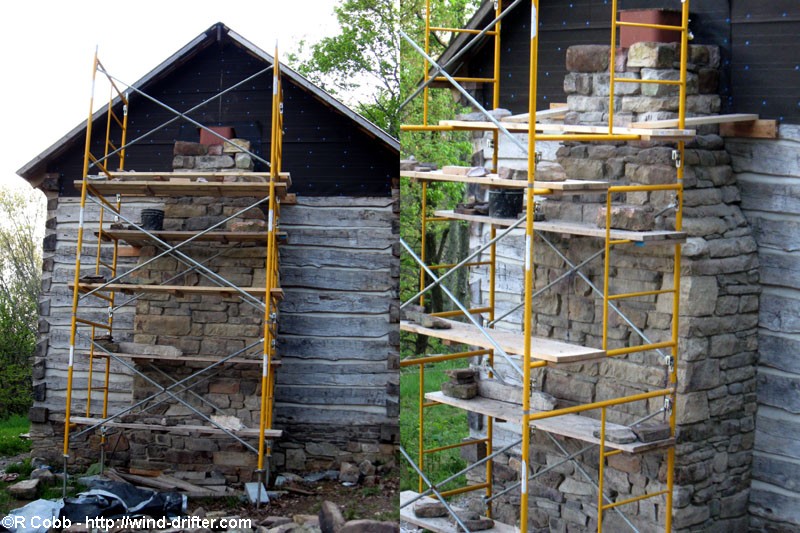
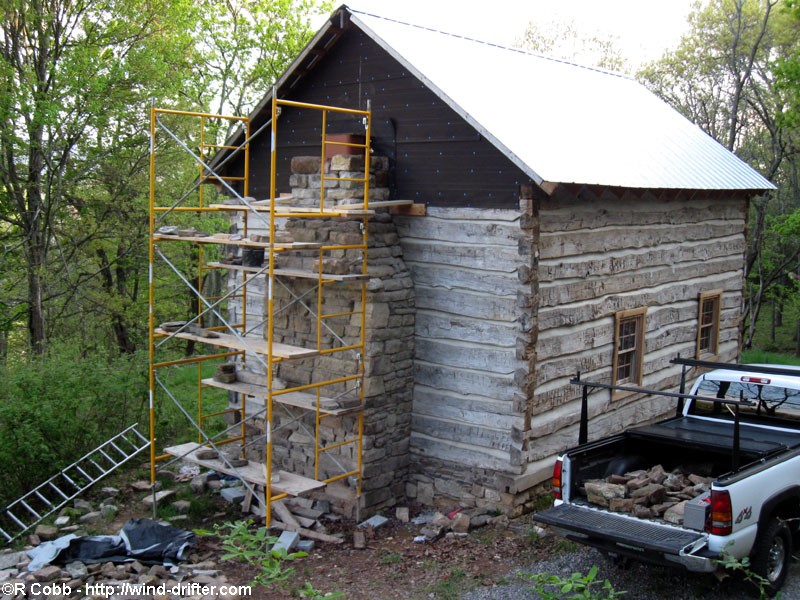
Steve has been steady on the chimney, with these update photos sent in April:
May 2012
"Going to have to cut the roof overhang soon. Hope I get it right."
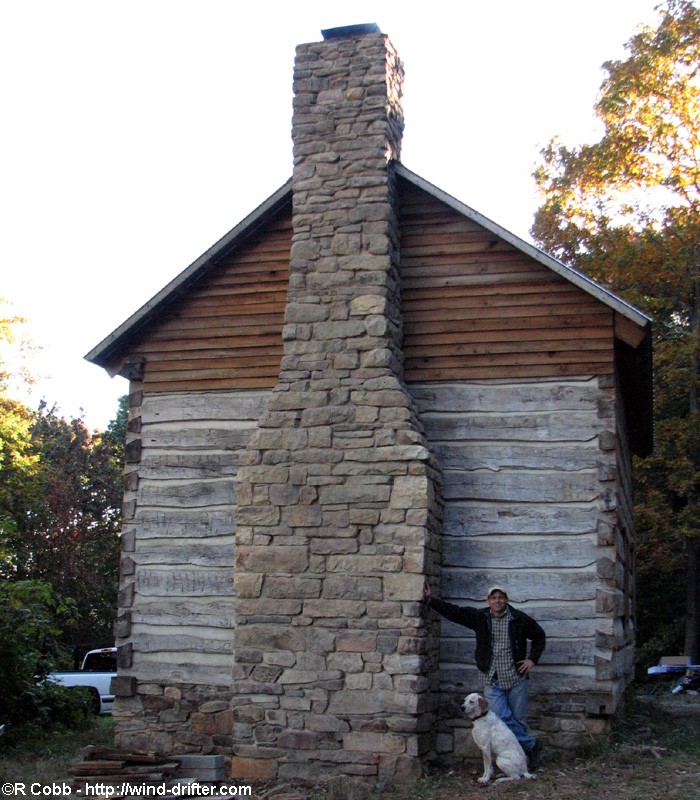
October 2012
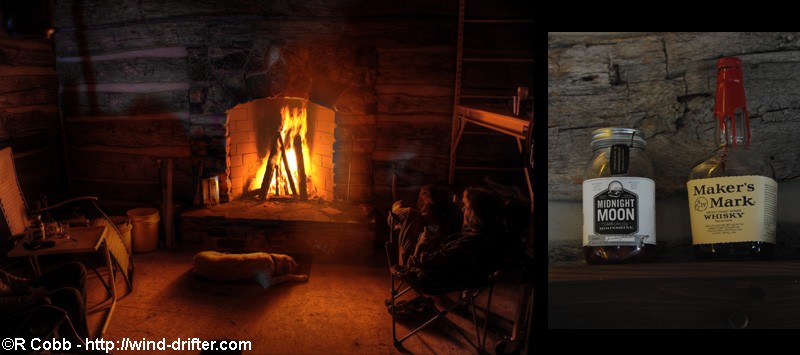
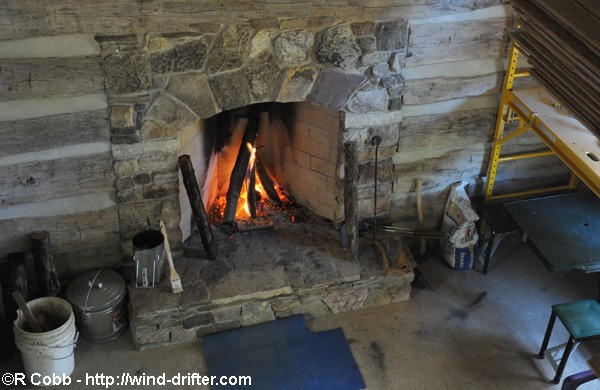
Steve has set aside a work week in October. He has been steady on the chimney, and it is done(!) The first fire is built at the beginning of the week.
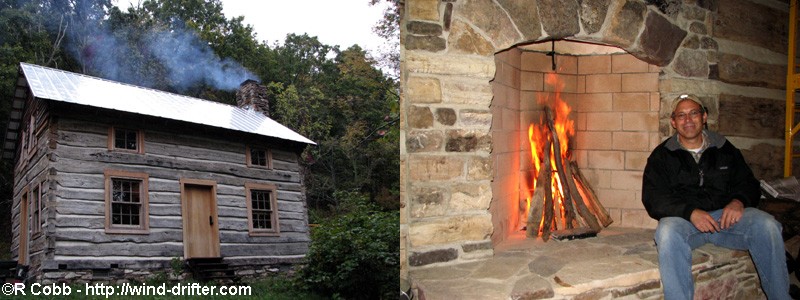
That first fire burned for the entire work week, with always enough coals left in the morning to keep it going. While the scaffolding was still up, it was time to finish the outside gable trim.
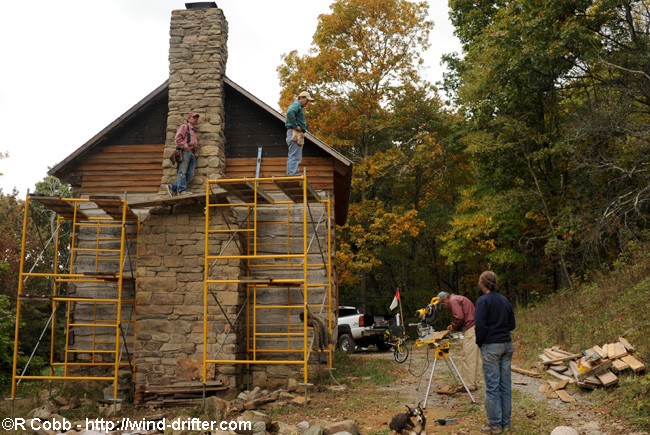
Each board had to be hand cut to match the chimney stones.
Trim done and scaffolding removed. A beautiful job of stone work and a happy guy!
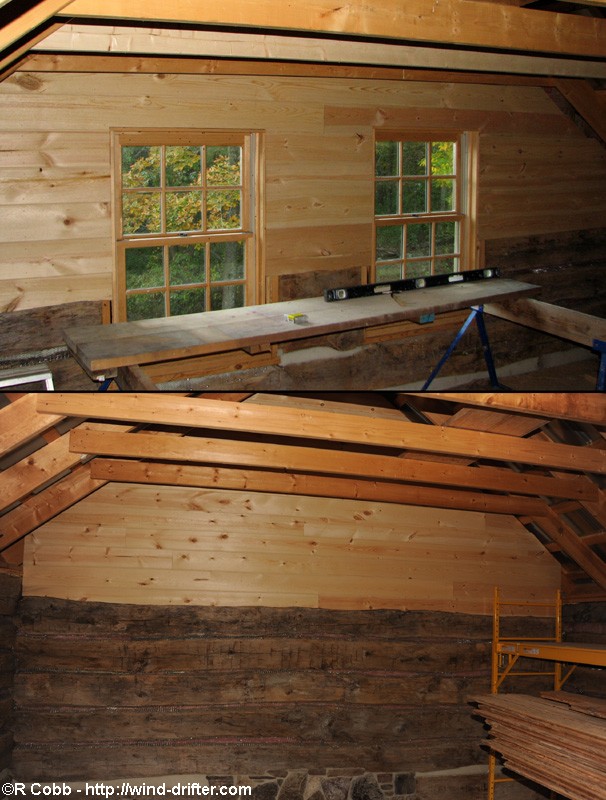
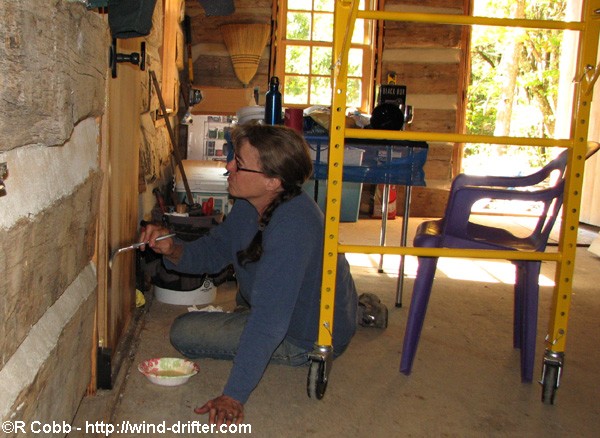
Inside work progressed too, with more chinking, interior gable boards, and finish work.
After full work days, it was time to enjoy some of the reasons the cabin was built for - friends around a cozy fire.
In the mornings the remaining coals would easily start the fire for the new day.
Navigation:
Part 1 - The beginning - 2008, getting ready for the roof
Part 2 - 2008-9, building the roof, start inside floor
Part 3 - 2009-10, building the loft and fireplace
Part 4 - 2001-12, building the doors, trim and finishing work <= You are here
Part 5 - 20012-14, chinking, interior finishing and detail work, start porch
Part 6 - 2014, porch roof, deck, and bath framing
Part 7 - 2015-17, bathroom addition, details